
Meta Description: 6 Smart Power Plan Changes for Ultimate Laptop Battery Care can extend your battery life significantly — discover the exact settings that protect and preserve your laptop today.
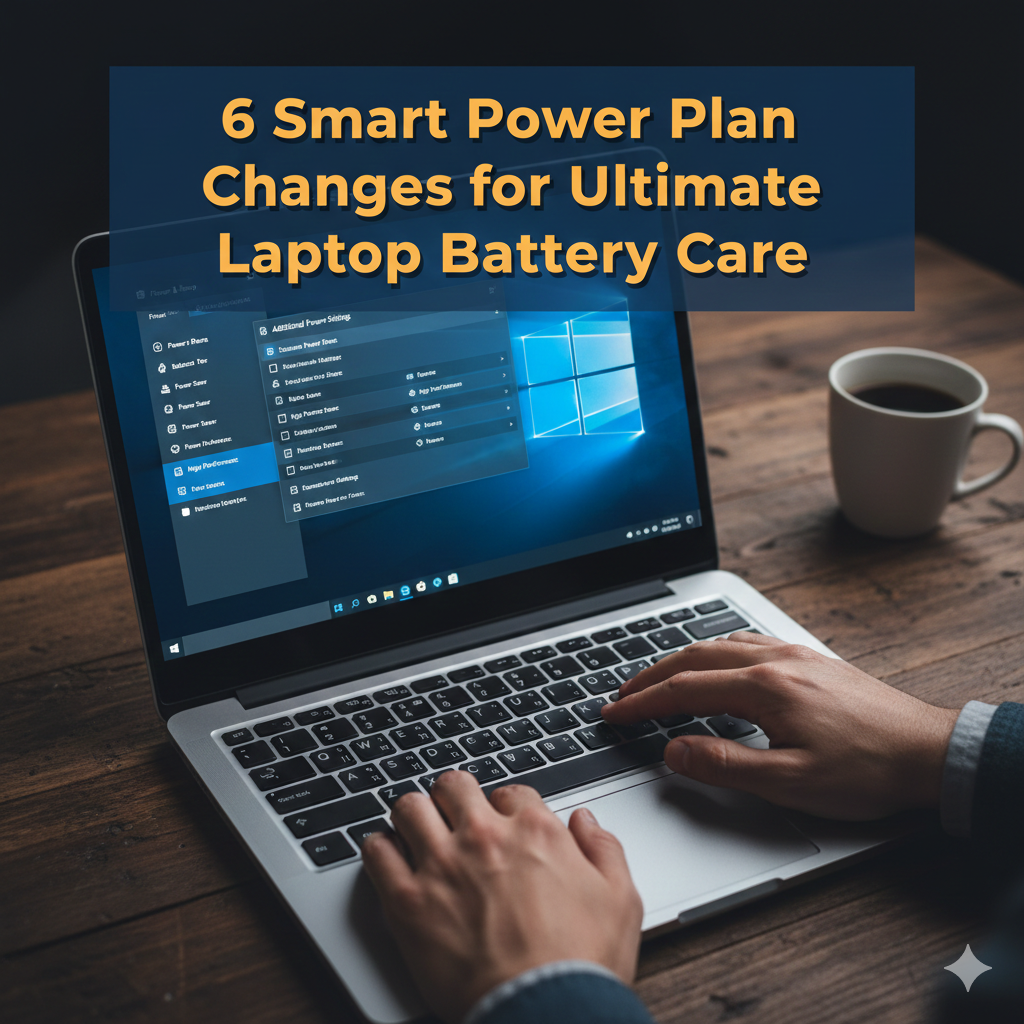
6 Smarter Lithium Power Plan Adjustments for Battery Life
Your laptop’s battery is slowly dying — and your power settings may be to blame.
The vast majority of people leave their power plan settings alone. They plug in, unplug, and pray for the best. But the reality is, nearly everything that affects battery health — how bright your screen stays on, how hard your processor works, and even how often you’re doing intensive tasks like video streaming — is controlled by your laptop’s power plan.
The good news? Small changes can have a big impact.
In this guide, you’re going to find out all the power plan changes that can protect your battery, extend your daily usage time, and keep your laptop running for many years. No tech degree required — simply straightforward, clear steps anyone could do.
Let’s get into it.
Why Your Power Plan Might Matter More Than You Think
A power plan is a set of settings that instructs your laptop on how to consume energy. Windows has a number of default plans — but those defaults aren’t necessarily designed with battery health in mind.
Consider it like this: your power plan is the playbook for your laptop. If the rulebook says “run everything full speed all the time,” your battery runs flat quick and dies younger. If the rulebook reads “be smart about energy,” your battery lasts longer — both per charge and throughout its entire life cycle.
Battery lifespan works in cycles. Every time you fully charge and discharge, that counts as one cycle. Laptop batteries are rated for around 300 to 500 cycles before they begin losing their capacity. The correct power plan allows you to maximize each cycle — and reduces how quickly those cycles add up.
Here’s a quick overview of what governs battery health:
| Factor | Effect on Battery Life |
|---|---|
| Screen Brightness | High — display consumes 30–40% of power |
| Processor Performance | High — full power drains battery fast |
| Sleep/Idle Settings | Medium — staying awake wastes charge |
| Background Apps | Medium — background activity eats your charge |
| Charging Habits | High — overcharging damages the cells |
| Cooling & Heat | High — heat degrades cell chemistry |
Now let’s review the six most significant changes.
Change #1 — Abandon “High Performance” Mode When You Don’t Require It
This is the one mistake most laptop users make most of the time.
High Performance mode tells your processor, graphics card, and fans to run at maximum capacity — all the time. Whether for gaming or video editing, that’s great. It’s awful for your battery when you’re just browsing the web or typing out emails.
What High Performance Mode Really Does to Your Battery
When High Performance mode is running on battery:
- Your CPU always runs at full clock speed
- Your GPU remains running even for simple operations
- Fans spin faster and generate more heat
- Your battery drains 40–60% faster compared to Balanced mode
Heat is especially damaging. Lithium-ion batteries — the type in nearly every modern laptop — corrode more quickly when they heat up. High Performance puts both your CPU and GPU to work, which generates more heat — over time, this decreases your battery’s long-term life.
The Right Move
Use Balanced mode for everyday work. Reserve High Performance for when you really need it — like running heavy software or games while plugged in.
How to switch on Windows:
- Click on the battery icon in your taskbar
- Drag the slider to “Better Battery” or “Balanced”
- Or go to Settings → System → Power & Sleep → Additional Power Settings
How to switch on Mac:
- Go to System Settings → Battery
- Enable “Low Power Mode” when unplugged
If everyone did this one thing, you’d add 1–2 hours of battery life without doing anything else.
Change #2 — Adjust Your Screen Dim Time When Idle
The screen is one of the most significant power consumers in your whole laptop. On its own, it can consume up to 40% of your overall battery power.
When your laptop isn’t being used — for instance, you left it alone for five minutes — the screen usually remains at full brightness. That’s energy being wasted, every single time.
Why This Is Hurting You More Than You Think
Assume your screen has been on at full brightness for 10 unnecessary minutes per hour. That’s more than an hour of wasted screen-on time over an 8-hour day. Do that over the course of weeks and months, and you’ve burned dozens of additional charging cycles doing literally nothing useful.
The Smart Setting to Change
To save battery power, set your screen to dim or turn off after 1–2 minutes of inactivity.
On Windows:
- Go to Settings → System → Power & Sleep
- Under “Screen,” set “On battery power, turn off after” to 1 or 2 minutes
On Mac:
- Go to System Settings → Battery → Options
- Set “Turn display off on battery when inactive” to 1 or 2 minutes
Also, manually reduce your screen brightness to about 50–70% during normal use. You probably don’t need it at 100% unless you’re outside in bright sunlight.
| Brightness Level | Estimated Battery Drain |
|---|---|
| 100% | 35–40% of total battery |
| 70% | 25–30% of total battery |
| 50% | 15–20% of total battery |
Change #3 — Decrease Your Sleep Timer (And Actually Use It)
Sleep mode is a battery’s best friend — if you let it do its work.
Most users set their sleep timer to 15, 20, or even 30 minutes. That means if you walk away from your laptop, it’s just sitting there doing nothing — but still running — for up to half an hour before it finally rests.
The True Cost of a Long Sleep Timer
Every minute your laptop is unnecessarily awake depletes battery charge. Even worse, the processor and other components generate heat even during light idle states. That heat accumulates over time, chipping away at your battery’s chemistry.
What You Should Set Instead
For battery usage, set your sleep timer to 3–5 minutes of inactivity. That might seem aggressive at first, but waking your laptop from sleep takes just one or two seconds. The power you save is absolutely worth it.
On Windows:
- Settings → System → Power & Sleep
- Set “On battery power, PC goes to sleep after” to 3–5 minutes
On Mac:
- System Settings → Battery
- Turn ON “Put hard disks to sleep when possible”
- Set sleep timer to 2–3 minutes
Don’t Confuse Sleep With Hibernate
Sleep keeps your work in RAM (uses minimal power). Hibernate saves everything to your drive and consumes next to no power. For longer breaks, hibernate is even better for battery health.
Change #4 — Disable Features You Aren’t Using Right Now
Your laptop is likely running features in the background that you’re not even using. All of them are silent battery power drains.
The Battery Drains Most People Overlook
Here are some common suspects:
- Bluetooth — still searching for devices even when nothing is paired
- Wi-Fi — looking for networks even when already connected
- Location services — apps repeatedly checking your location
- Keyboard backlighting — nice, but drains battery fast
- Notification syncing — apps pinging servers every few minutes
No single one of these will drain your battery on its own. But together? They can cut your usage time by 30–60 minutes a day.
For a deeper look at all the factors that affect your battery’s lifespan, visit Laptop Battery Care — a dedicated resource covering everything from charging habits to long-term maintenance tips.
Power Plan Settings That Help
Some of these you can control directly in your custom power plan:
On Windows — Custom Power Plan:
- Go to Control Panel → Power Options
- Click “Change plan settings” → “Change advanced power settings”
- Find “Wireless Adapter Settings” → Set to Power Saving when on battery
- Go to “USB Settings” → Enable USB selective suspend
USB selective suspend allows your laptop to cut power to USB ports not currently in use. It’s a minor saving, but it adds up.
Turn off manually when not needed:
- Bluetooth: Taskbar → Quick Settings → Bluetooth OFF
- Location: Settings → Privacy → Location → OFF
- Keyboard backlight: Usually a Function key shortcut on your keyboard
Change #5 — Activate Battery Saver Mode (And Set When It Turns On)
Battery Saver mode is built into both Windows and macOS. It exists specifically to stretch your remaining charge when you’re running low — but most people only allow it to activate at 20% or below.
Here’s the thing: you don’t need to wait until your battery is practically depleted.
What Battery Saver Actually Does
When Battery Saver mode activates:
- Background app activity is reduced
- Mail and calendar sync frequency drops
- Push notifications are limited
- Screen brightness is automatically lowered
- Certain visual effects are disabled
All of these changes save real power. And none of them prevent you from working, browsing, or watching videos.
The Smarter Threshold Setting
Rather than waiting until 20%, set Battery Saver to kick in at 40–50%.
Why? Because the less charge you have, the more effort it takes to push out that final bit of power. Your battery actually prefers to stay in the 40–80% range — this is the “sweet spot” for long-term chemistry.
On Windows:
- Settings → System → Battery
- Enable “Battery saver” and set the threshold to 40% or 50%
- Check “Lower screen brightness while in battery saver”
On Mac:
- System Settings → Battery
- Enable “Low Power Mode” — you can set it to always activate when on battery
The 40–80 Rule: The Ultimate Battery Life Hack
According to Battery University, keeping your lithium-ion battery between 40–80% significantly reduces electrochemical stress and extends its overall lifespan.
| Charging Habit | Long-Term Battery Health |
|---|---|
| Always 0–100% | Faster degradation |
| Keeps at 20–80% | Good for most users |
| Keeps at 40–80% | Best for long-term lifespan |
| Plugged in all day | Can cause overcharging damage |
A number of newer laptops from Dell, Lenovo, HP, and Apple now include a charging limit feature — in part because of this very principle.
Change #6 — Create a Custom Power Plan Based on How You Really Use Your Laptop
Windows lets you create entirely custom power plans. This is your most powerful battery care tool — and hardly anyone uses it.
Instead of picking between “Balanced,” “Power Saver,” and “High Performance,” you can build a plan tailored to precisely how you use your laptop.
Why the Default Plans Fall Short
The default “Power Saver” plan is overly aggressive — it can throttle your processor so much that your laptop feels sluggish and frustrating. “Balanced” is a better default, but it’s still a one-size-fits-all compromise.
A custom plan lets you get the best of both worlds.
How to Build Your Custom Power Plan on Windows
- Go to Control Panel → Power Options
- On the left, click “Create a power plan”
- Start from “Balanced” as your baseline
- Name it something like “My Battery Care Plan”
- Click Next, then “Create”
- Now click “Change plan settings” → “Change advanced power settings”
Here are the specific settings to adjust inside your custom plan:
| Setting | On Battery | Plugged In |
|---|---|---|
| Turn off display | 2 minutes | 5 minutes |
| Sleep | 5 minutes | 15 minutes |
| Processor min state | 5% | 50% |
| Processor max state | 70% | 100% |
| Wireless adapter | Power saving | Max performance |
| Hard disk turn off | 5 minutes | 10 minutes |
The Processor Max State Setting Is Overlooked
Lowering your processor max state to 70% on battery is one of the most effective changes you can make. Everyday tasks don’t need the processor running at 100%. At 70%, you won’t notice a difference during normal use — but your battery will run cooler and last significantly longer.
On Mac:
Mac doesn’t allow manual power plan creation, but you can still get similar results:
- Always enable Low Power Mode when unplugged
- Reduce visual effects in System Settings → Accessibility → Display
- Only disable “Slightly dim the display on battery” if you prefer manual control
Putting It All Together — Your Battery Care Action Plan
Here’s a quick summary of all six changes in one simple table:
| # | Change | Estimated Benefit |
|---|---|---|
| 1 | Switch to Balanced mode | +1–2 hrs per charge |
| 2 | Dim screen faster + lower brightness | +30–60 min per charge |
| 3 | Shorten sleep timer to 3–5 min | +20–40 min per charge |
| 4 | Disable unused features | +20–45 min per charge |
| 5 | Set battery saver at 40–50% | Extends lifespan significantly |
| 6 | Create a custom power plan | Best all-around optimization |
You don’t have to do them all at the same time. Start with changes #1 and #2 — even just those two will give you noticeable results today.
More Tips to Get Your Battery Health Even Better
Power plan settings do much of the heavy lifting, but a few extra habits complement them nicely.
Keep your laptop cool. Don’t use it on soft surfaces like beds or pillows — these block ventilation and trap heat. Use a hard, flat surface or a laptop stand.
Don’t always charge to 100%. If your laptop manufacturer offers a charge limit feature (like Lenovo’s Conservation Mode or ASUS Battery Care), use it. Set the limit to 80%.
Update your drivers and OS. Old drivers can leave your hardware running inefficiently, consuming more power than needed.
Avoid extreme temperatures. Leaving your laptop in a hot car or a freezing room damages the battery over time.
FAQs — 6 Smart Power Plan Changes for Best Laptop Battery Care
Q: Will these power plan changes slow down my laptop? A: For most ordinary tasks such as browsing, writing, and video calls — no. The processor max state setting at 70% is hardly noticeable during normal use. If you’re doing heavy editing or gaming, return to High Performance temporarily.
Q: How often should I update my power plan settings? A: Set it once and leave it. The only time you need to revisit your settings is if your usage habits change significantly — say, you start doing more graphics-heavy work.
Q: If Battery Saver mode is always on, does it damage anything? A: Not at all. Battery Saver mode is designed to be used regularly. It simply reduces background activity, which is completely harmless.
Q: My laptop battery is already degraded. Will these changes help? A: Yes — they’ll help prevent further degradation. They can’t undo existing damage, but they will noticeably slow future wear.
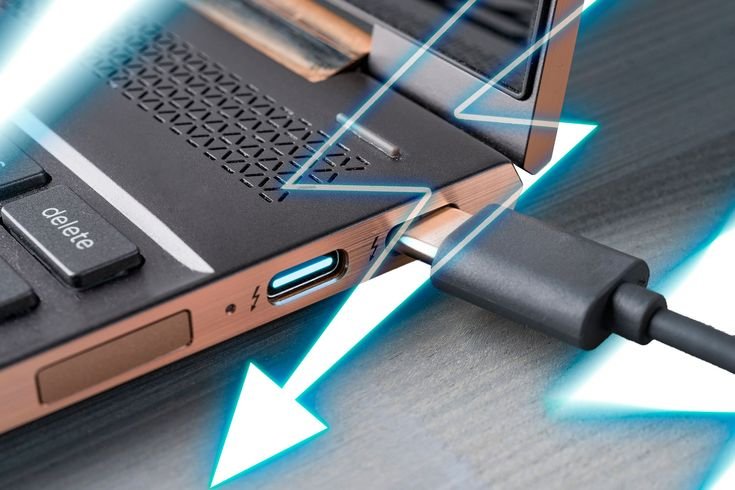
Q: Is it bad to leave my laptop plugged in all the time? A: It can be. Keeping a laptop constantly at 100% charge generates heat and stresses the battery cells. If your laptop has no built-in charging limit, aim to unplug once it’s fully charged.
Q: Do these tips apply to Chromebooks as well? A: Chromebooks have simpler power settings, but the same basic principles apply — lower brightness, shorter sleep timers, and avoiding a constant 100% charge all help Chromebook batteries too.
Q: How do I know if my power plan changes are actually working? A: Use BatteryInfoView (Windows) or coconutBattery (Mac) to check your battery health percentage. Over weeks and months, you should see more gradual degradation.
Final Thoughts
Your laptop battery is a finite resource. Every charging cycle counts. Every unnecessary degree of heat matters.
The six smart power plan changes in this guide aren’t complicated. They don’t require technical expertise. They simply take a few minutes to set up — and a little awareness of how your laptop consumes power.
Switch to Balanced mode. Dim your screen faster. Shorten your sleep timer. Disable what you’re not using. Turn Battery Saver on earlier. And if you need complete control, build your own custom power plan that works exactly the way you do.
Do all of this consistently, and your laptop battery will reward you — with more hours per charge today, and more months of healthy capacity over the long run.
Start with one change. You’ll notice the difference sooner than you think.